Thinka for Z-Wave — FAQ
Is Your Thinka Not Working? Here’s What to Do
We understand how frustrating it can be if your Thinka device isn’t working properly. Don’t worry—before reaching out to support, try these simple troubleshooting steps to quickly resolve the issue:
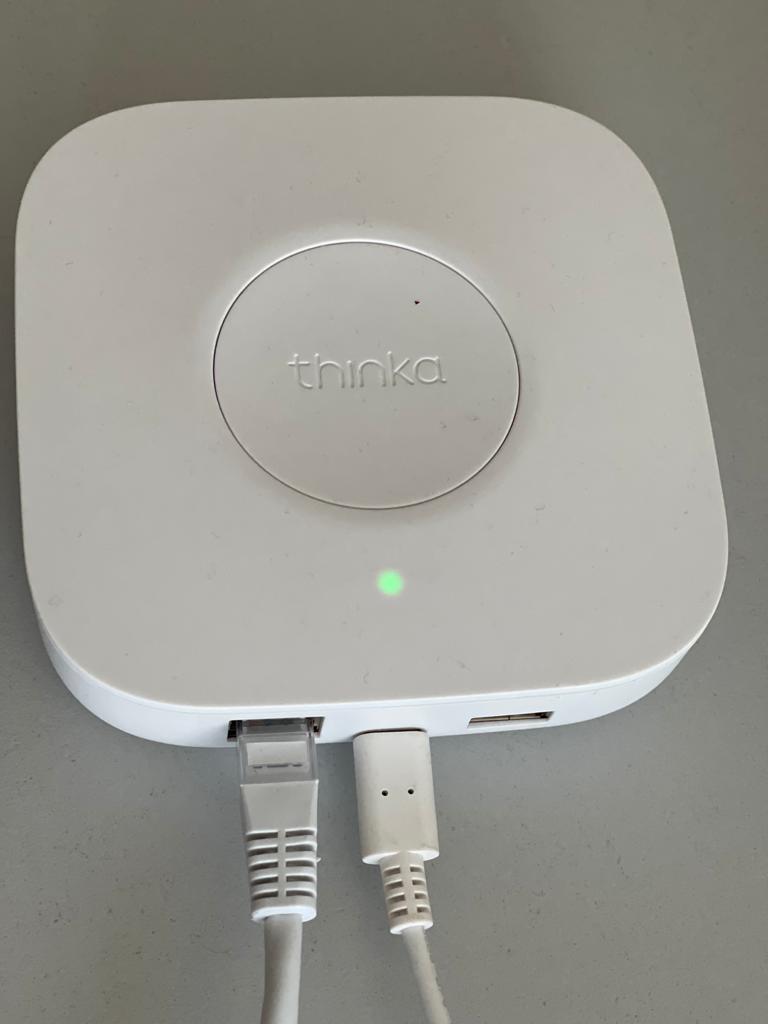
- Check the LED Indicator:
Take a look at the LED(s) on your Thinka. Normally, the LED should be solid green. If you see a different color or if the LED is flashing, this could indicate a specific problem. Find out what each LED color means by visiting our LED color guide. - Access the Web Interface:
Try accessing the Thinka web interface. Need help? See our guide on finding your Thinka on your network. - Restart Your Thinka:
Sometimes a simple reboot can fix the problem. Learn how to restart your device here. - Network Connection Check:
Look at the small LEDs next to the network port; they should be green and orange. If they’re lit or flashing, your Thinka is connected to the network. You can also install the Thinka Companion app for further setup. - Find Your Device on Your Router:
Try locating your Thinka’s DHCP address through your router settings.
If these steps don’t solve the issue, note your Thinka’s serial number and contact our support team at support@thinka.eu. We’re here to help!
How to Enable Local Network Access for Thinka and HomeKit
To successfully pair your Thinka device with Apple HomeKit, you’ll need to make sure Local Network access is enabled on your iOS device. Here’s a simple step-by-step guide:
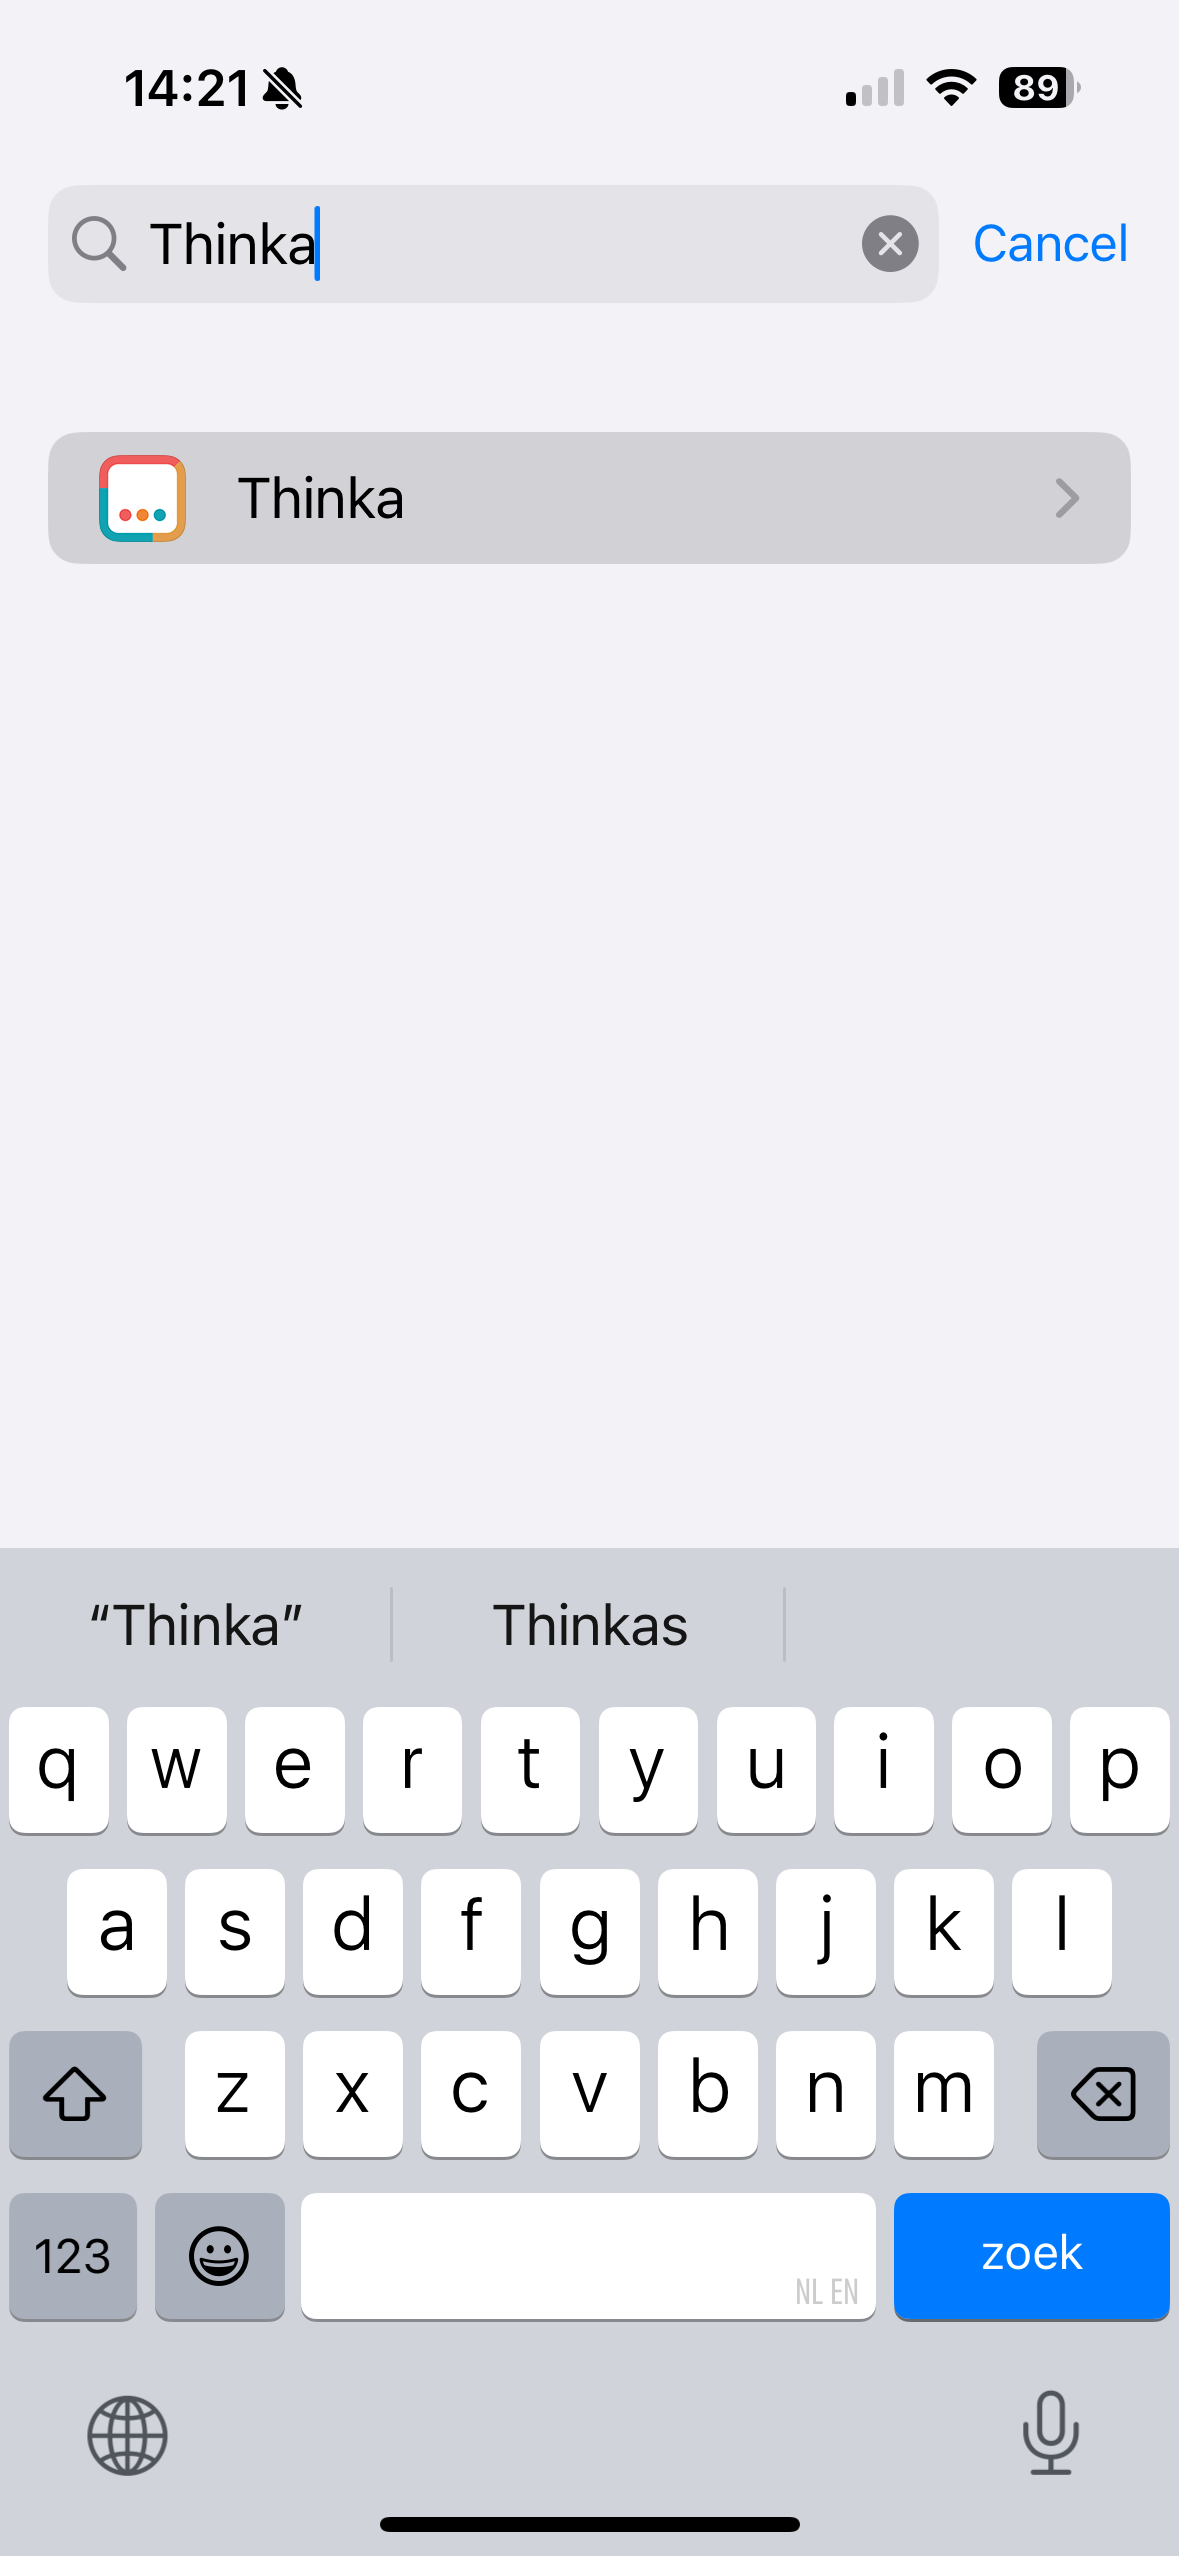
- Download the Thinka Companion app: Install the Thinka Companion app directly to your iPhone or iPad.
- Grant Local Network access: When you first open the app on iOS 14 or later, you’ll see a prompt: “Thinka would like to find and connect to devices on your local network.” Tap “OK” to allow access.
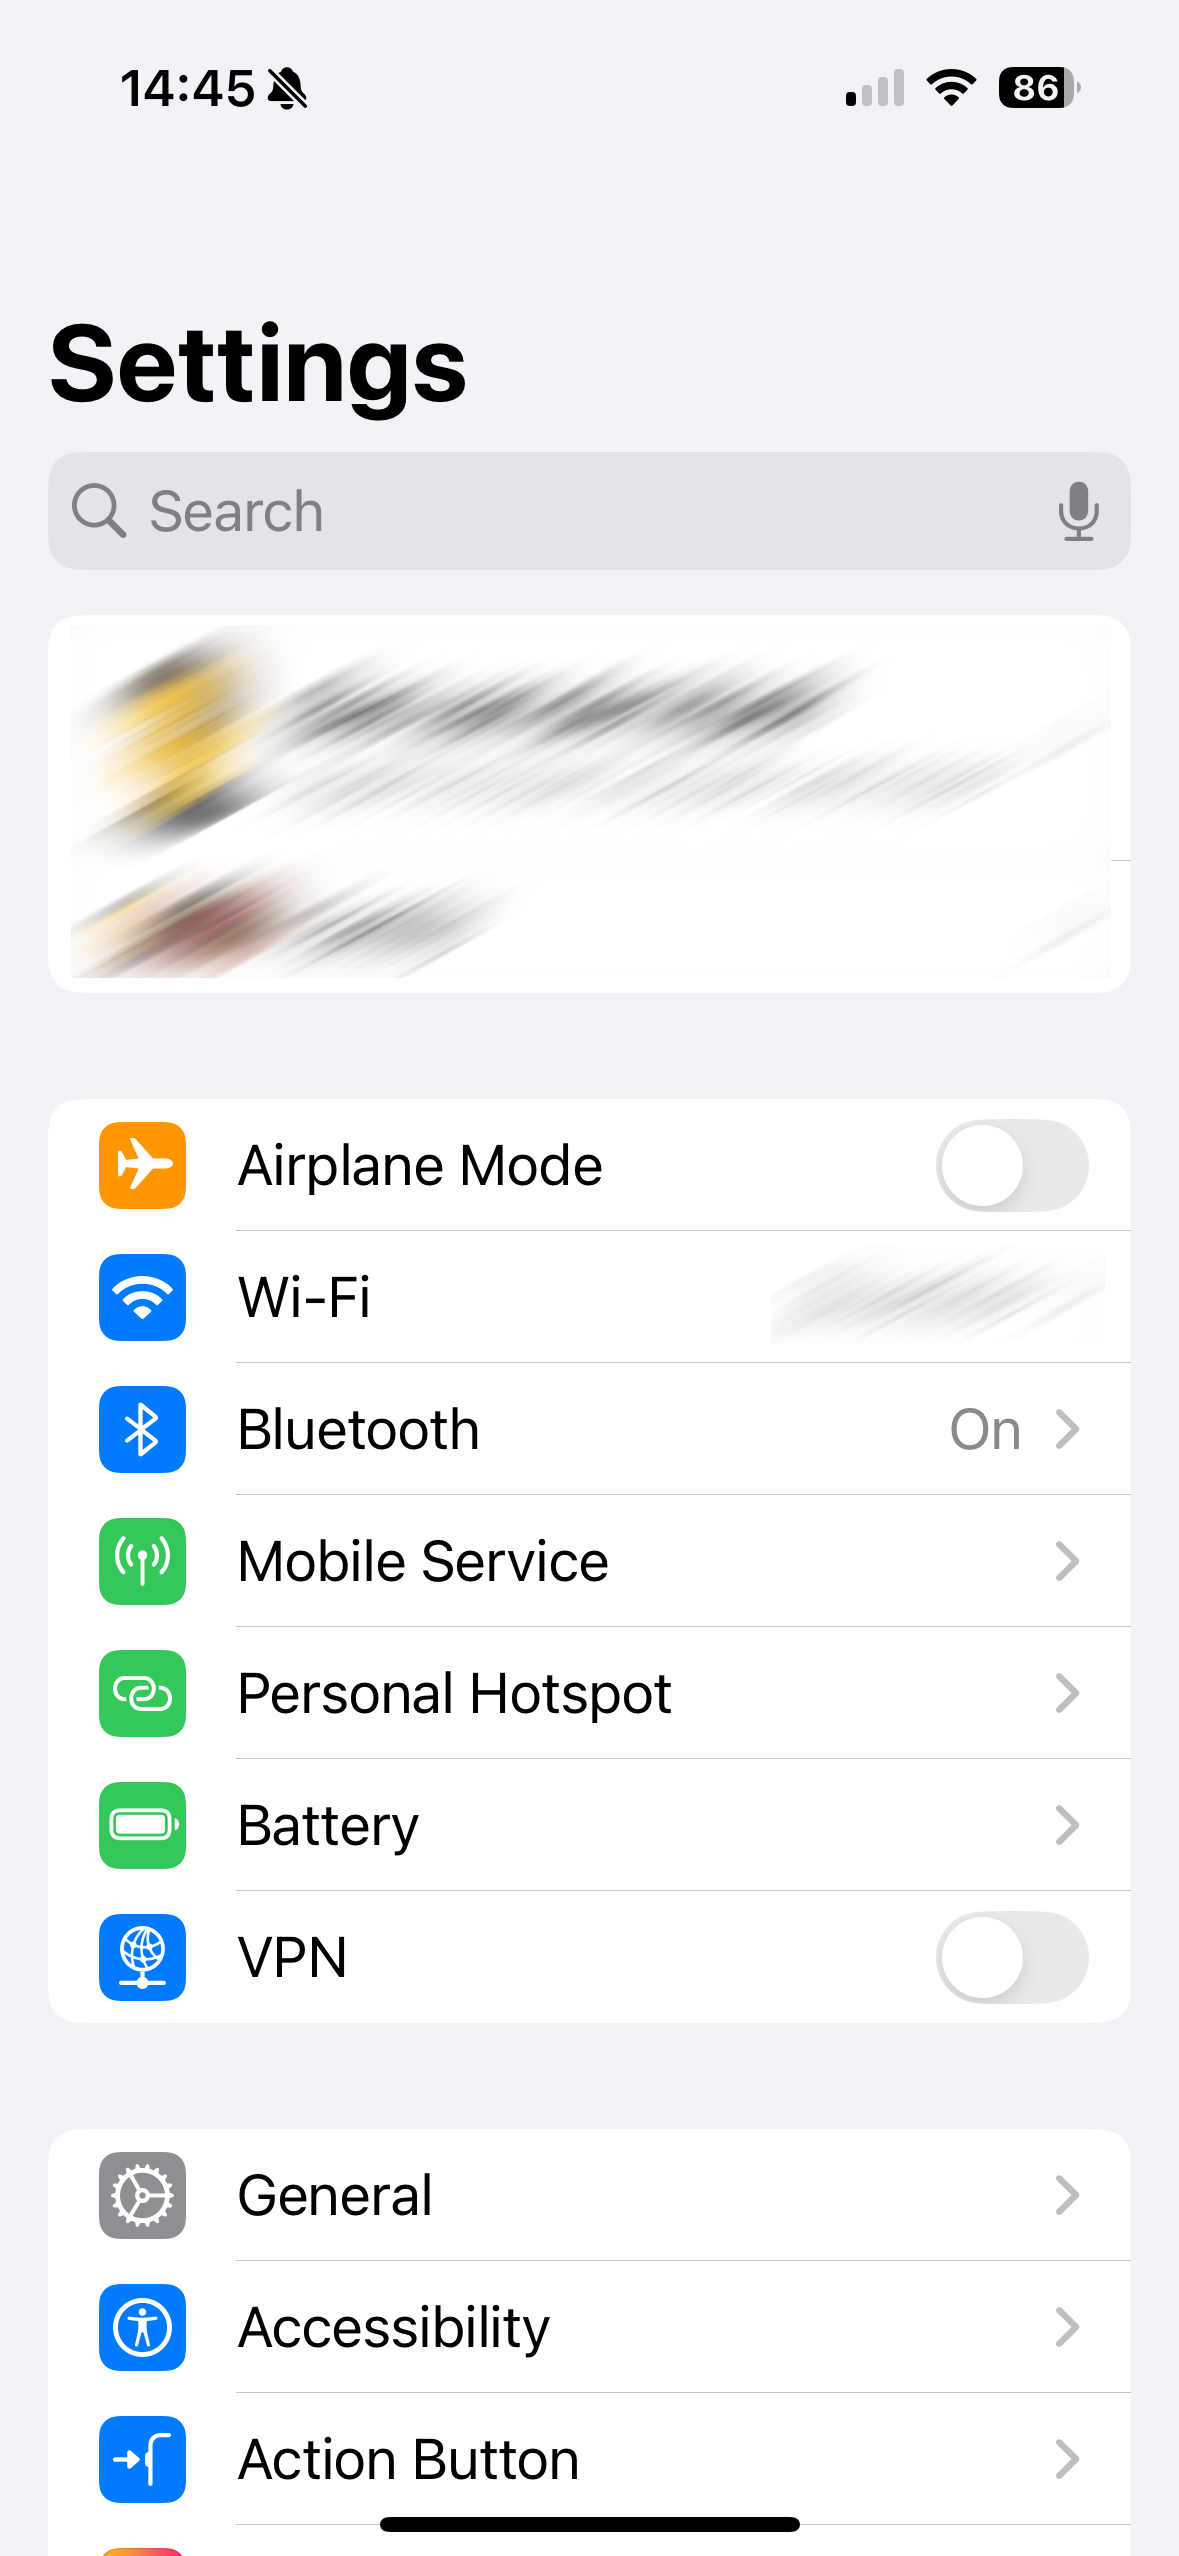
- Verify permissions: Go to your device’s Settings app to confirm that the Thinka Companion app has Local Network access enabled.
Enabling Local Network access is essential, as HomeKit pairing only works through your local network. Follow the images below for a visual guide:

Enjoy seamless smart home integration with Thinka and HomeKit!
How to Include a Regular Z-Wave Device with Thinka
Adding a Z-Wave device to your Thinka smart home hub is quick and easy! Follow these simple steps to connect your device:
- Open the Thinka web interface and click the "Add Device" button at the top of the page.
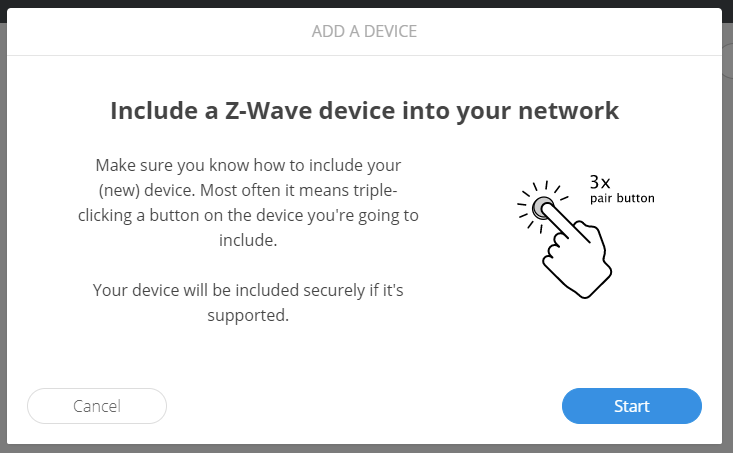
- Click the "Start" button to begin the inclusion process.
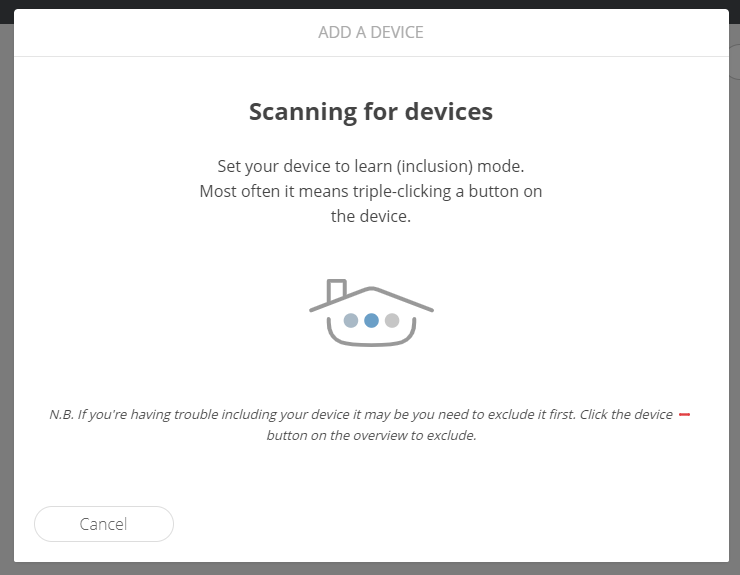
- Put your Z-Wave device into inclusion mode (refer to your device’s manual for instructions), then wait for Thinka to detect it.
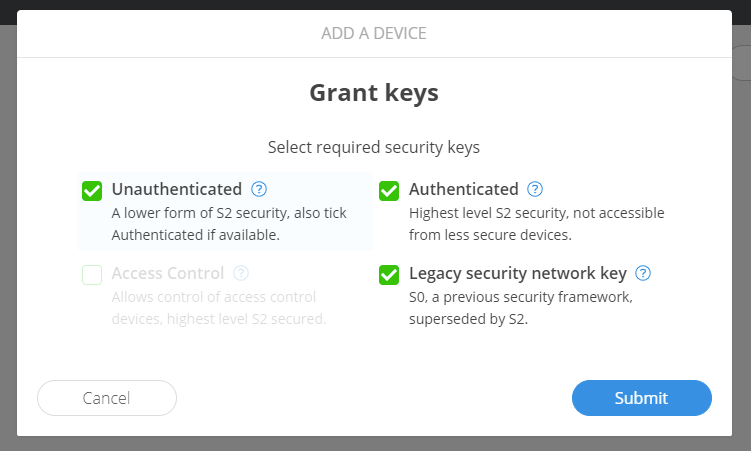
- Once found, press the "Submit" button to continue.
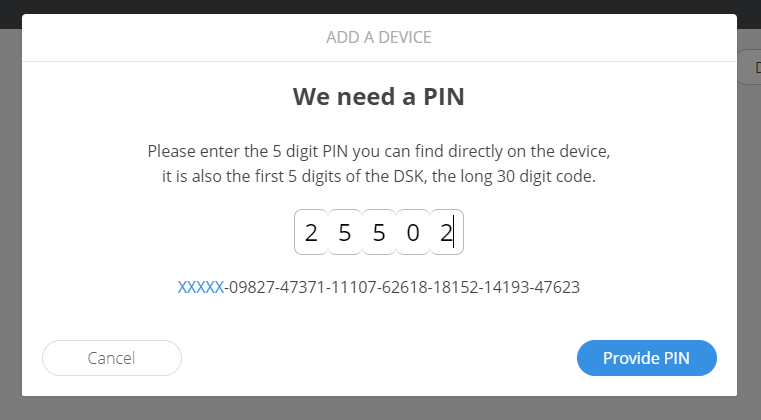
- If you’re adding a secure Z-Wave device, enter the first 5 digits of its DSK PIN when prompted.
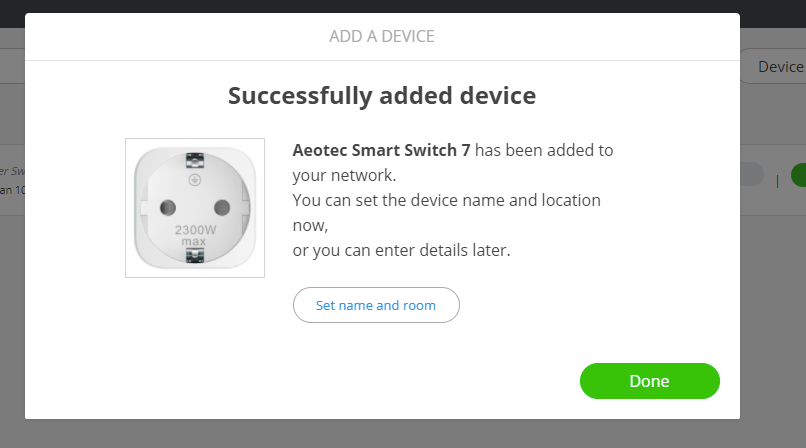
- Finish setup by naming your device and choosing a room, or click "Done" to use default settings.
Your Z-Wave device is now included and ready to use with Thinka!
How to Install Thinka Z-Wave: A Simple Step-by-Step Guide
Setting up your Thinka Z-Wave is quick and easy! Follow these simple steps to get your smart home hub up and running:
- Connect the Power Adapter: Plug the power adapter into your Thinka Z-Wave device and then into a power outlet. This will power up your hub.
- Attach the Network Cable: Connect the network cable from your Thinka Z-Wave to your home router or network switch. This ensures a stable and secure internet connection for all your smart devices.
That’s it! With just these two connections, your Thinka Z-Wave is ready to bring seamless smart home automation to your fingertips.
If you need further assistance, our support team is always here to help you enjoy a smarter, more connected home!
How Will I Know When My Thinka Arrives?
Thank you for your order! Once you’ve purchased your Thinka, staying updated on your delivery is quick and easy.
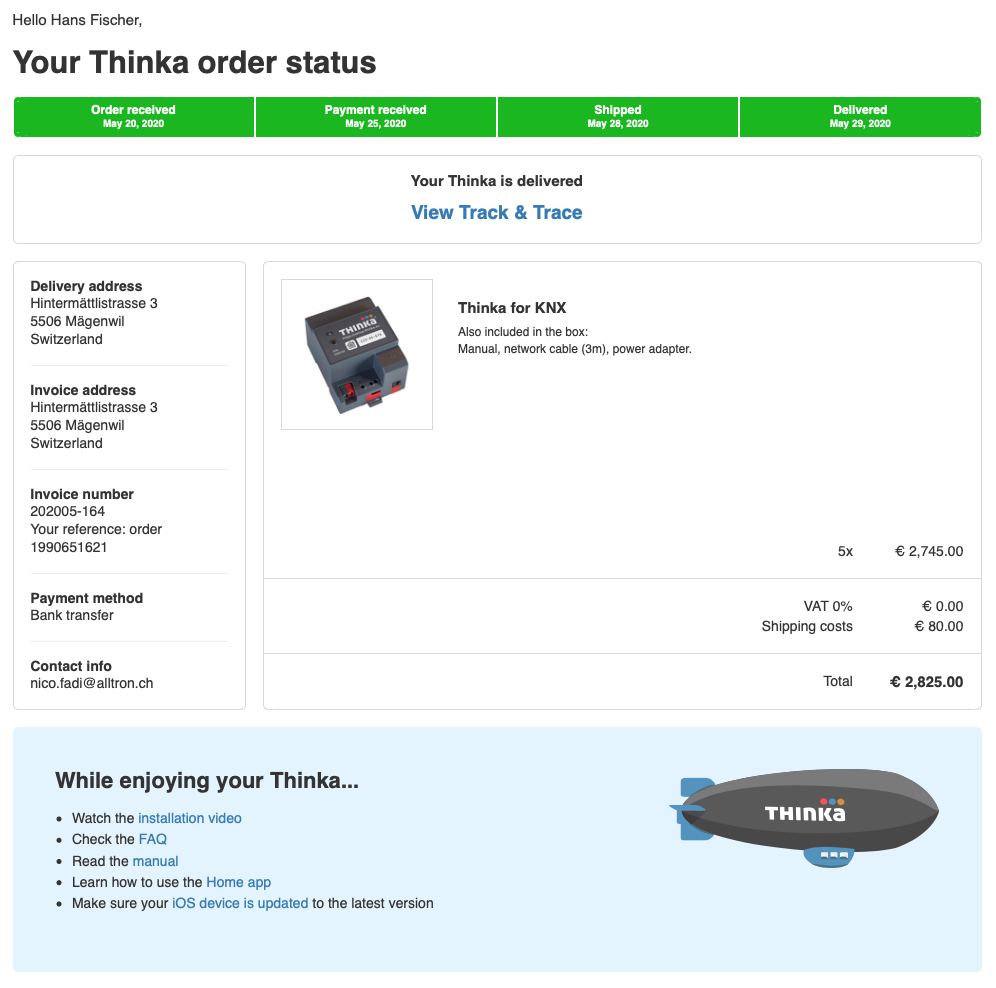
- Order Confirmation: You'll receive an email confirming your purchase right after you order.
- Shipping Notification: As soon as your Thinka is shipped, we'll send you a shipping confirmation email with a tracking number. This allows you to follow your Thinka’s journey from our warehouse to your doorstep.
- Track Your Order: Click the tracking link in your email at any time to see real-time updates on your delivery status.
If you have any questions or need further assistance regarding your Thinka delivery, our friendly support team is here to help. Enjoy a seamless shopping experience and look forward to your new Thinka arriving soon!
How Do I Log In to My Thinka?
Logging in to your Thinka is fast and easy! Just follow these simple steps:
- Open your preferred web browser and visit https://setup.thinka.eu.
- Enter the serial number of your Thinka device.
- You will be automatically redirected to your Thinka’s web interface on your local network.
- If your Thinka is password-protected, simply enter your password when prompted.
- Once logged in, you’ll be taken straight to the Settings page, where you can easily manage all your Thinka features and settings.
Pro Tip: For quick access in the future, bookmark your Thinka’s web interface so you can go directly to it without revisiting the setup.thinka.eu site.
Enjoy seamless control and management of your Thinka smart home hub—right from your browser!
Setting Up HomeKit with Your Thinka Device: A Step-by-Step Guide
How to Easily Configure HomeKit with Thinka
Ready to connect your Thinka to Apple HomeKit for seamless smart home control? Follow these simple steps to get started:
- Download the Thinka Companion App: Install the Thinka Companion app on your iOS device.
- Allow Local Network Access: When prompted, be sure to grant local network access for smooth device discovery and pairing.
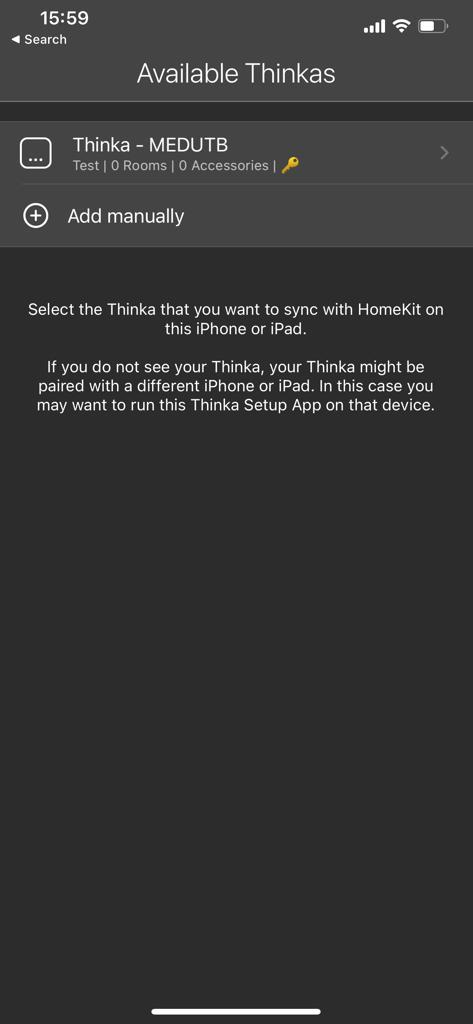
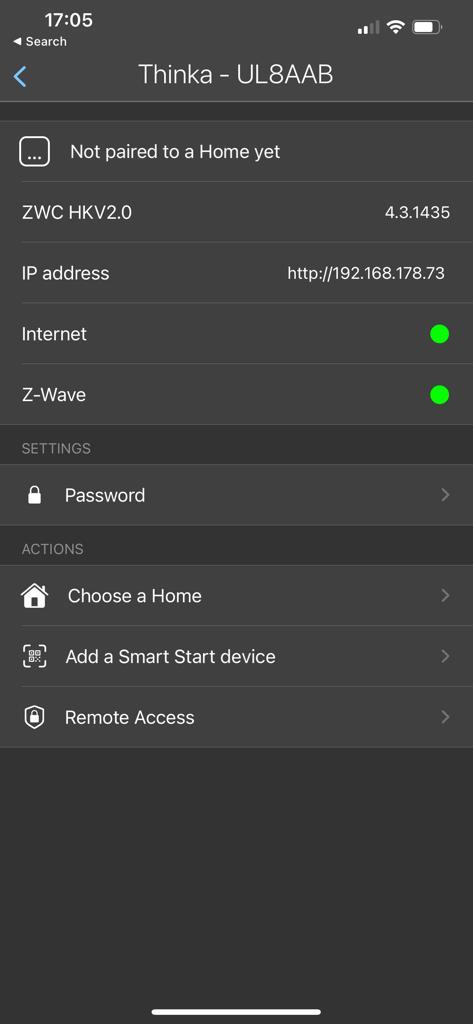
- Pair with HomeKit: Open the app to see available Thinka devices. Select your Thinka, then tap "Choose a Home" and pick your HomeKit home. Enter the PIN shown on your Thinka device.
- Set Name & Location: For your Thinka device to appear in HomeKit, ensure it has both a name and a location. You can set these during setup or via the Smart Start feature in the app.
Need help with other devices? Check our dedicated guide for Z-Wave Push Button configuration.
How to Exclude a Z-Wave Device from Your Thinka System
Need to remove a Z-Wave device from your Thinka smart home setup? Follow these simple steps to easily exclude any Z-Wave device using the Thinka web UI:
- Step 1: Open the Thinka web UI on your browser.
- Step 2: Click the Device - icon at the top of the page to start the removal process.
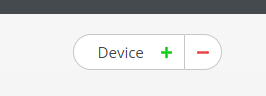
Click the "-" icon to begin removing the device.
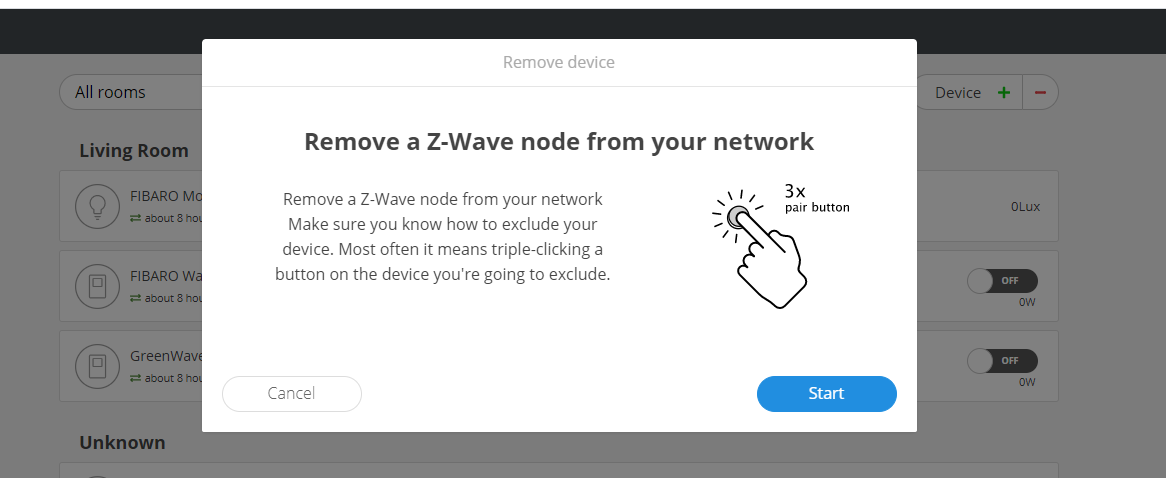
Then, click the "Start" button to initiate exclusion mode.
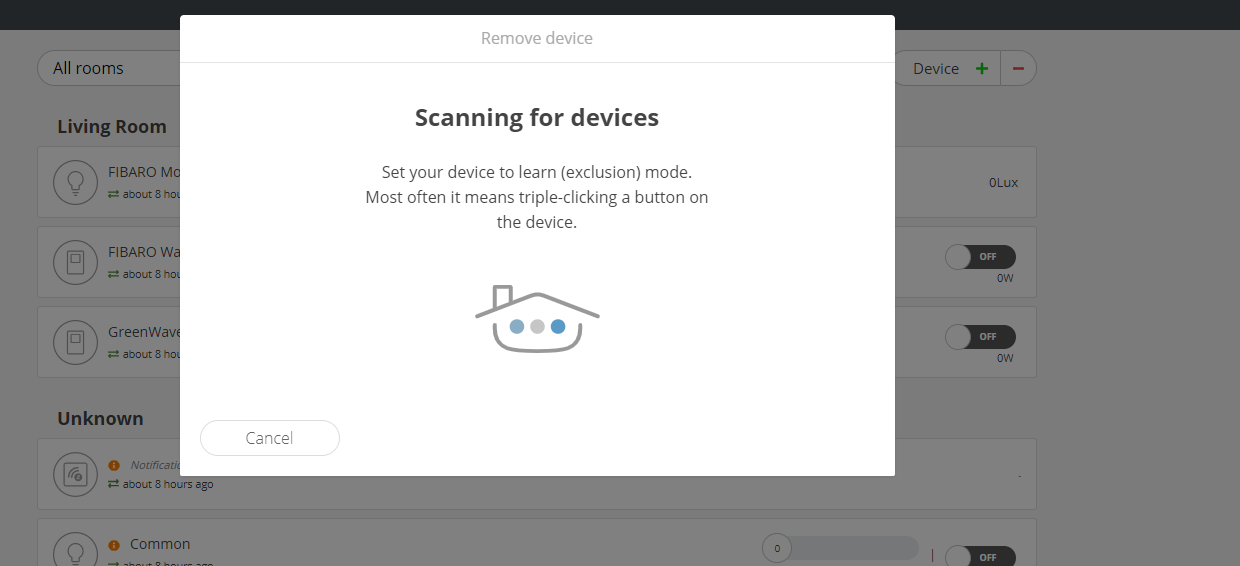
- Step 3: Put your device into exclusion (learn) mode. For most devices, simply triple-click the "B" button. Refer to your device’s manual for specific instructions.
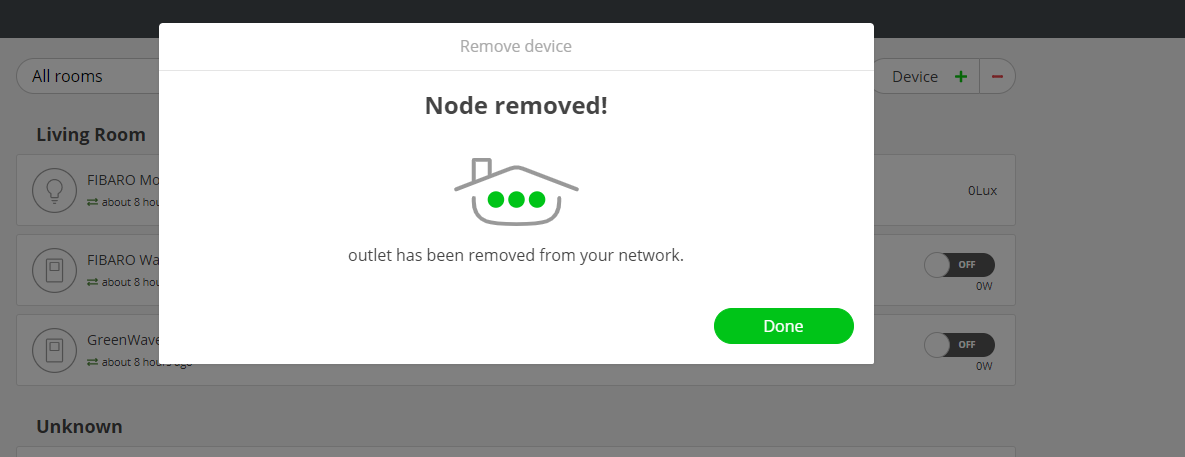
Once completed, your Z-Wave device will be successfully removed from Thinka. If you need more details, check your device manual or our support resources!
What is a Provisioning List?
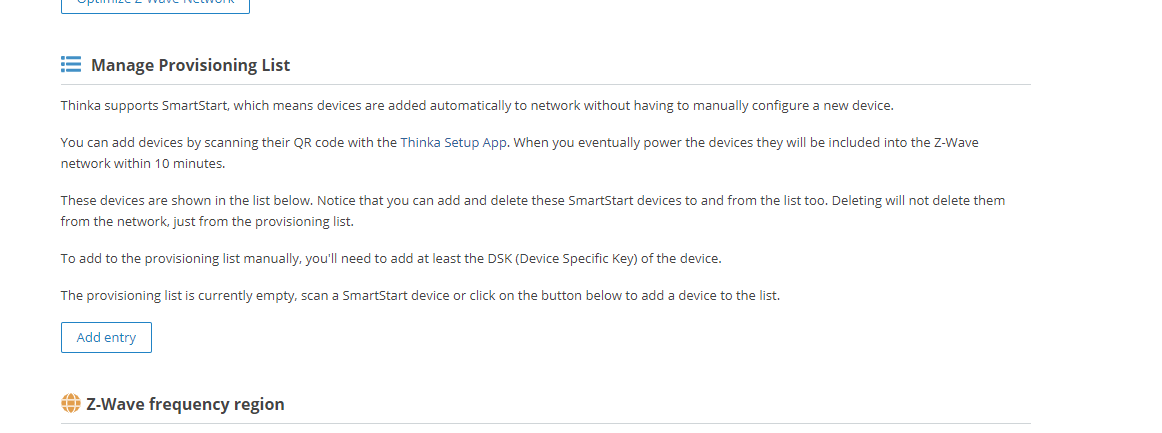
The provisioning list in Thinka makes adding smart devices to your Z-Wave network quick and effortless. With SmartStart support, Thinka automatically enrolls compatible devices—no manual configuration required!
- Easy Device Enrollment: Simply scan the device's QR code using the Thinka Setup App. Power up the device, and it will automatically join your Z-Wave network within 10 minutes.
- Manage Your Devices: All added devices appear in the provisioning list below. You can easily add or remove SmartStart devices from this list. Removing a device from the list does not disconnect it from your network—it simply removes it from the provisioning list.
- Manual Additions: Want to add a device manually? Just enter the DSK (Device Specific Key) to include it in the provisioning list.
If your provisioning list is empty, just scan a SmartStart device or use the button below to add a device.
Access your provisioning list by navigating to "Settings" → "Z-Wave" in the Thinka web app. See the screenshot below for reference:
Why is My Thinka's LED Flashing Red?
If you notice that your Thinka's LED is flashing red, it could mean one of two things:
- Software Update in Progress: Your Thinka may be updating its software. Please allow the process to complete.
- Connection Issue: The device may be experiencing trouble connecting to the KNX system or your network.
To resolve connection issues, we recommend downloading and installing the Thinka Companion app. This app helps you easily locate your Thinka on your network and troubleshoot any connectivity problems.
Important:
- Do not power off your Thinka while the LED is flashing red.
- Wait at least 10 minutes before attempting to reset your Thinka.
By following these steps, you can ensure your Thinka smart home system remains connected and up to date. If you need further assistance, our support team is here to help!
Showing the first 10 FAQs. Use the subject filters or search to find more.